

Leftover tool kit (part 1): the tart
Decision fatigue seems to be one of the major obstacles home cooks are struggling with when having to deal with leftovers. In our busy lifes it can be overwhelming thinking of ways how to save something that may soon perish. I can totally relate to this dilemma and thought of some tools that could help make the decision process a little easier. Over the coming weeks and months I want to create something like a tool kit or you may also call it a repertoire. There are some methods or basic recipes that can work as a foundation and kickstart a creative and eventually intuitive way to deal with leftovers.
I like to think of a vessel, something that holds the leftovers together, or a tray, if you like, something that displays the leftovers in a favourable way. The first in the series is the tart, which I believe can be regarded as both a vessel and a tray. The French have a tradition of making a tart out of leftovers. The pastry shell can hold pieces of roasted meat, vegetables that don’t look so fresh and appealing anymore, a selection of herbs that look a little bit wilted. All those blemishes and imperfections can be cleverly concealed with a custard and some cheese that melds everything into a scrumptious and Lucullan treat. You will forget that you are eating leftovers after all.
Shortcrust pastry and puff pastry are available chilled or frozen at most supermarkets, so you can skip some part of the cooking process. Quite a lot of celebrity chefs claim that it doesn’t make sense to make the effort of making your own. However most ready-made pastry contains palm oil rather than butter and to me often tastes a little bitter. Making puff pastry is rather time intensive, but still worthwhile. It can be made ahead and frozen and defrosted whenever you need it. Shortcrust pastry is quicker to make, however you have to follow a few basic rules to make it a success. All the ingredients need to be cold and when you work it, you need to work fast and don’t overwork the dough. Again, this can be made ahead and chilled or frozen for later. I strongly encourage you to give it a try and make your own. Like with many other things it will get easier and more intuitive over time. And like my friend Astrid said, who taught me how to make perfect tart shells: You can really wow your friends if you master the art of tart making and serve them some delicious treats.
I recently purchased a food processor which makes shortcrust pastry so much easier. It's pressing the pulse button a few times, adding some egg and ice-cold water, press the pulse button a few more times and you are done.
But even if you don’t have a food processor it is not a major hassle to make your own. I will give instructions for both food processor and handmade pastry.
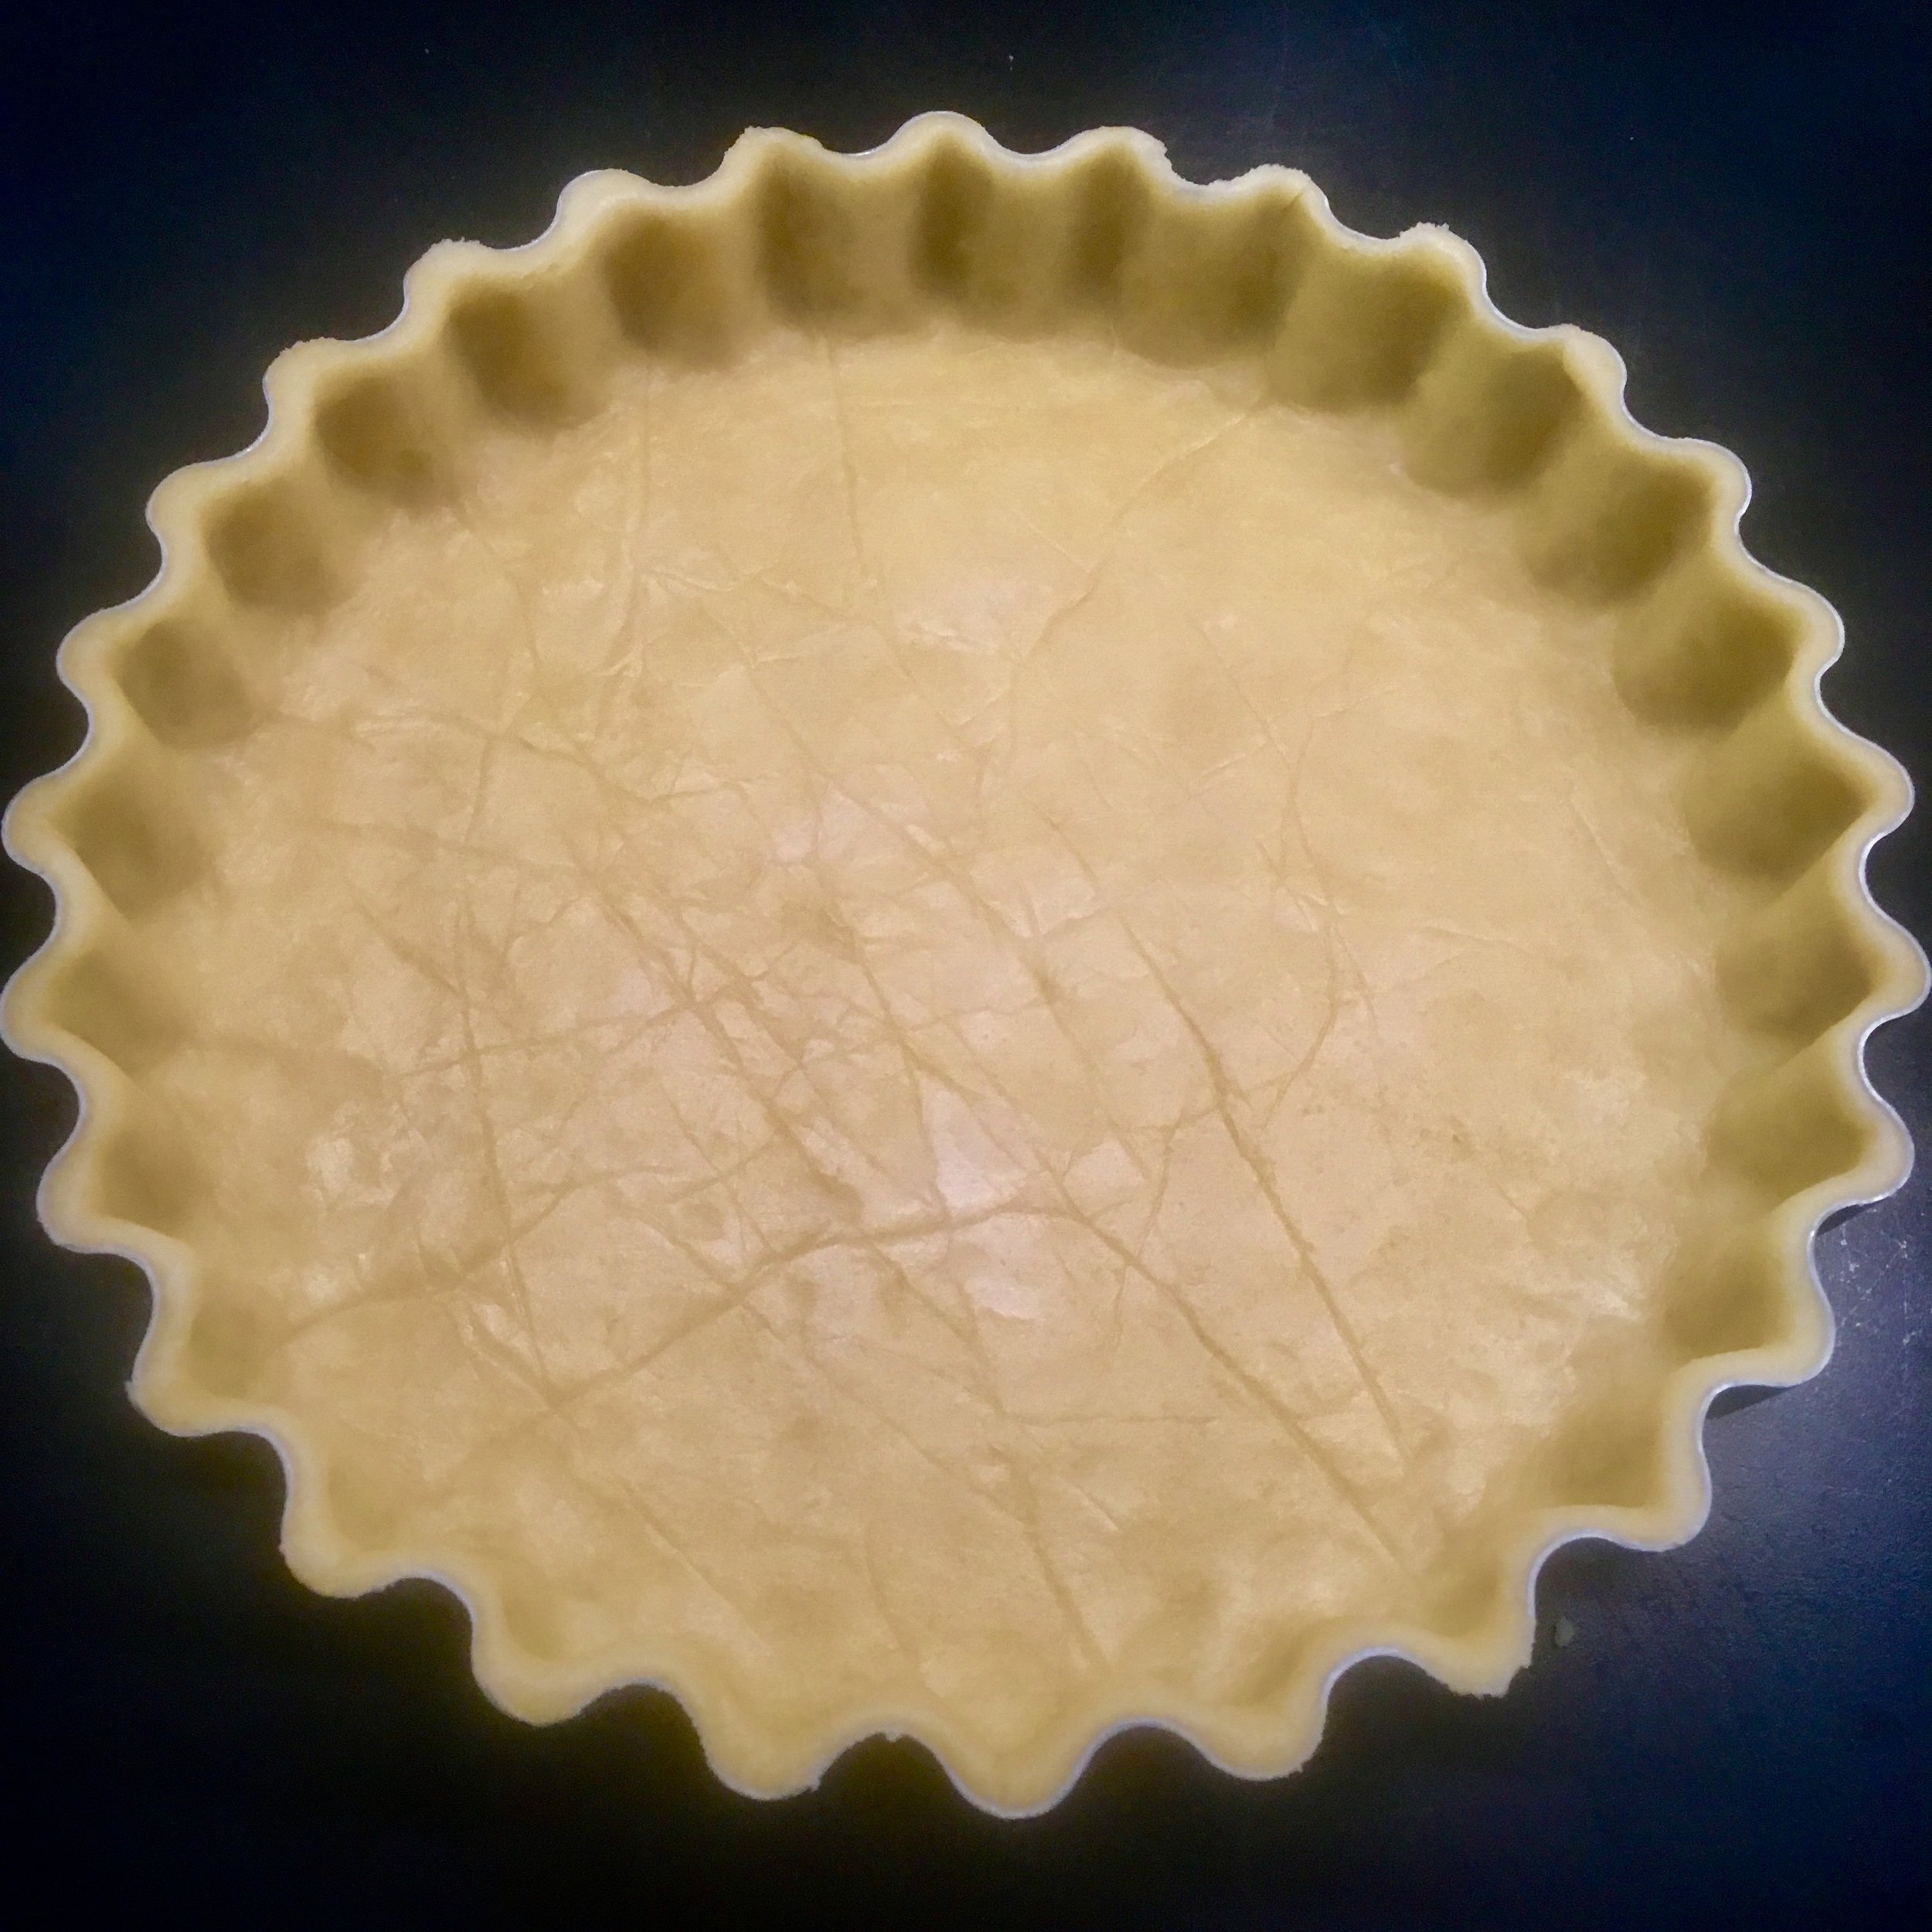
The recipe below is from Richard Bertinet’s book “Pastry”. It’s for savoury tarts. Hence it is called “salty tart crust”. The amount is enough for a tart form approximately 26 cm (ca. 10 inch) in diametre . However it always depends on what kind of border your tart ring has. There are some rather wavy fluted tins (which I like to work with), some tins have a lower rim. Keep experimenting what works for you.
A note to those who want to work without tart tins: you may also want to consider making a galette tart, which creates a very rustic-looking tart and works if the filling isn’t too liquidy. I will feature this kind of tart in a later post. It’s also a brilliant way to use up leftover pastry.
salty tart crust (from Richard Bertinet’s “Pastry”)
250 g wheat flour
125 g cold butter, straight from the fridge
5 g salt
1 egg
35 g ice-cold water
Food processor method:
Put flour and salt into the bowl of a food processor and mix. Cut the butter into cubes and add to the flour. Press the pulse button of your food processor several times. Don’t overwork it. It does not have to come together now, so be careful. Add the egg and pulse again until the dough comes together a bit more. Add the water and pulse a few times more until the dough starts to form a ball. Don’t overwork the dough. It’s OK if it’s not one complete ball. You can press any bits that are separate into the ball. Press the ball into a flat disk on your work surface, wrap in cling film and chill in the fridge, for several hours, ideally overnight.
Handmade method:
Put the flour and salt into a bowl and mix. Add the cubed butter and quickly work it into the flour with your fingertips. If you are using the palms of your hands the dough might get too warm. Stop working the dough when you have bits about the size of your fingernails, not like often said the texture of wet sand. If you work it too much, the dough will get sticky. Add the egg and water and quickly work it until it just comes together and forms a ball. Shape into a disc and chill in the fridge for several hours, ideally overnight.
Rolling out:
Grease a 26 cm tart form with butter and set aside.
Place the dough between two sheets of parchment paper and roll out with a rolling pin, turning a quarter every couple of rolls. Roll it out to about 5 mm thickness. Once you have rolled out the pastry, remove the top sheet of baking parchment and dust with a little flour, turn over, peel away the other sheet of baking parchment and also dust with a little flour. Gently roll the pastry around the rolling pin as if you were rolling a poster around it. The flour will keep the dough from sticking together.
Transfer to the tart form and unroll. Then gently push the dough down and into the corners and ripples (if you have a fluted tart tin). With your fingertips go around the tart tin and press the dough gently into the corners. Any dough overlapping can be removed with a sharp knife. Alternatively you can put a sheet of baking parchment on top of the filled tart form and gently roll over the rolling pin. The sharp edges will ‘cut’ away the overlapping dough and you can almost remove the overlapping dough like a ribbon. You can freeze the leftover pastry for a later use. I will show you how to make use of leftover pastry in another post.
Chill the pastry in the tart ring for another hour in the fridge before baking.
Blind baking:
Preheat the oven to 190 degrees. Once the oven has reached the temperature, remove the tart shell from the fridge and cover with a sheet of baking parchment. Fill with baking beans (either ceramic ones specifically made for baking blind or a package of dried beans). Bake for 15 minutes. Remove from the oven and lift out the paper and the baking beans. Brush the base with beaten egg and bake for another 8 minutes. Now your tart shell is ready to be filled. Follow this blog where I will give one option how to make a filling from leftovers.
A few more tipps to make your pastry shell a success:
Many recipes for shortcrust pastry ask you to shape the dough into the ball and then refrigerate it before rolling it out. However I don't get why they ask you to shape it into a ball. How on earth are they expecting people to flatten a solid ball?! My friend Astrid who is a trained pastry chef and learned at Le Cordon Bleu in Paris confirmed this. She always shapes it into a disc before chilling it in the fridge. When you are ready to roll out the dough, it is so much easier.
All the ingredients need to be cold: butter straight from the fridge, ideally cut it into cubes and chill the cubes again before working into the dough. Eggs should also be cold and if you add water to your dough, chill it with a few ice cubes. Work in the butter only with your fingertips to avoid the dough getting too warm.
Don’t overwork the dough! It should only just come together to form a ball. If you continue working it for too long, it will build too much gluten which will cause the pastry to shrink.
Chill the raw tart shell at least one hour in the fridge, ideally overnight.
You still need a bit of patience when rolling out the dough. Too often I was impatient and applied too much force. It takes a bit of time, but you will get there. It can be very meditative.
I prefer to roll out the dough between two sheets of baking parchment. It's definitely less mess in your kitchen when you don't have to flour your work surface. The sheets can also be reused. Keep checking if you have reached the right size by laying or holding the cake tin on top. You want the pastry disc to be large enough to fit the bottom of the tart and also all the way up the rim.

