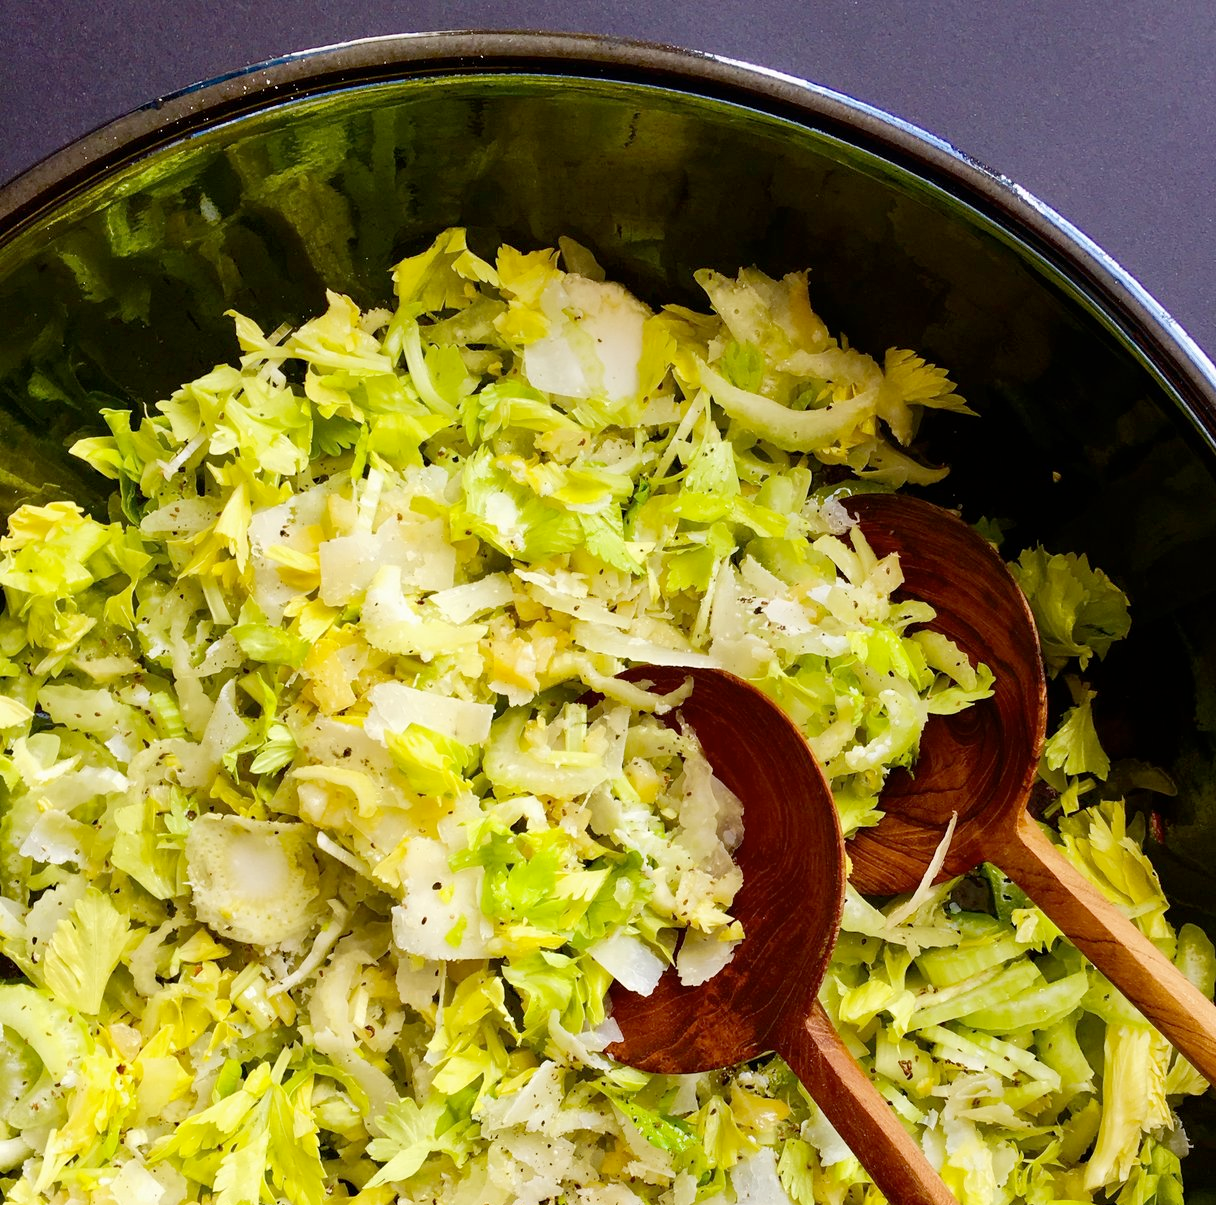
sauerkraut from half a cabbage
Fermentation has been all the rage for several years now. I am not too bothered about trends to be honest. I started fermenting, not because it is le dernier cri, but simply because I have not tried it before. My initation to fermentation has been an accidental one. About 5 years ago I came across Isa Palstek, who runs a fermentation group by the name of Wilde Fermente (German) on Facebook. She was also making and selling ceramic pickle weights that I got interested in. I wasn’t contemplating on trying my hands on fermentation, but wanted to have the weights to keep things submerged. For example bitter oranges I steeped in alcohol for several months to make an aperitif called vin d’orange or brining my own olives.
It turned out that Isa lived around the corner, so I asked if I could come and collect the weights at her place. We had a chat and she told me more about fermentation, her Facebook group, her blog (German) and the health benefits of sauerkraut. It made me laugh. Sauerkraut! Of all things! I was like: “You’re alright?!” Nevertheless I joined her group, was intrigued by all the fermentation posts of her members and a complete convert after I participated in a workshop of hers a few months later. We made curtido, a Salvadorian kind of sauerkraut, that is traditionally served in El Salvador with pupusas (a flat bread with a filling). Ever since then I am hooked on the special kind of umami flavour of many ferments and continue to learn, be intrigued and willing to learn and explore more. I am planning to write a longer post on fermentation since it is such a wonderful way to handle your leftovers. One thing I can tell you: it’s not rocket science and most of the things you have probably read before are wrong.
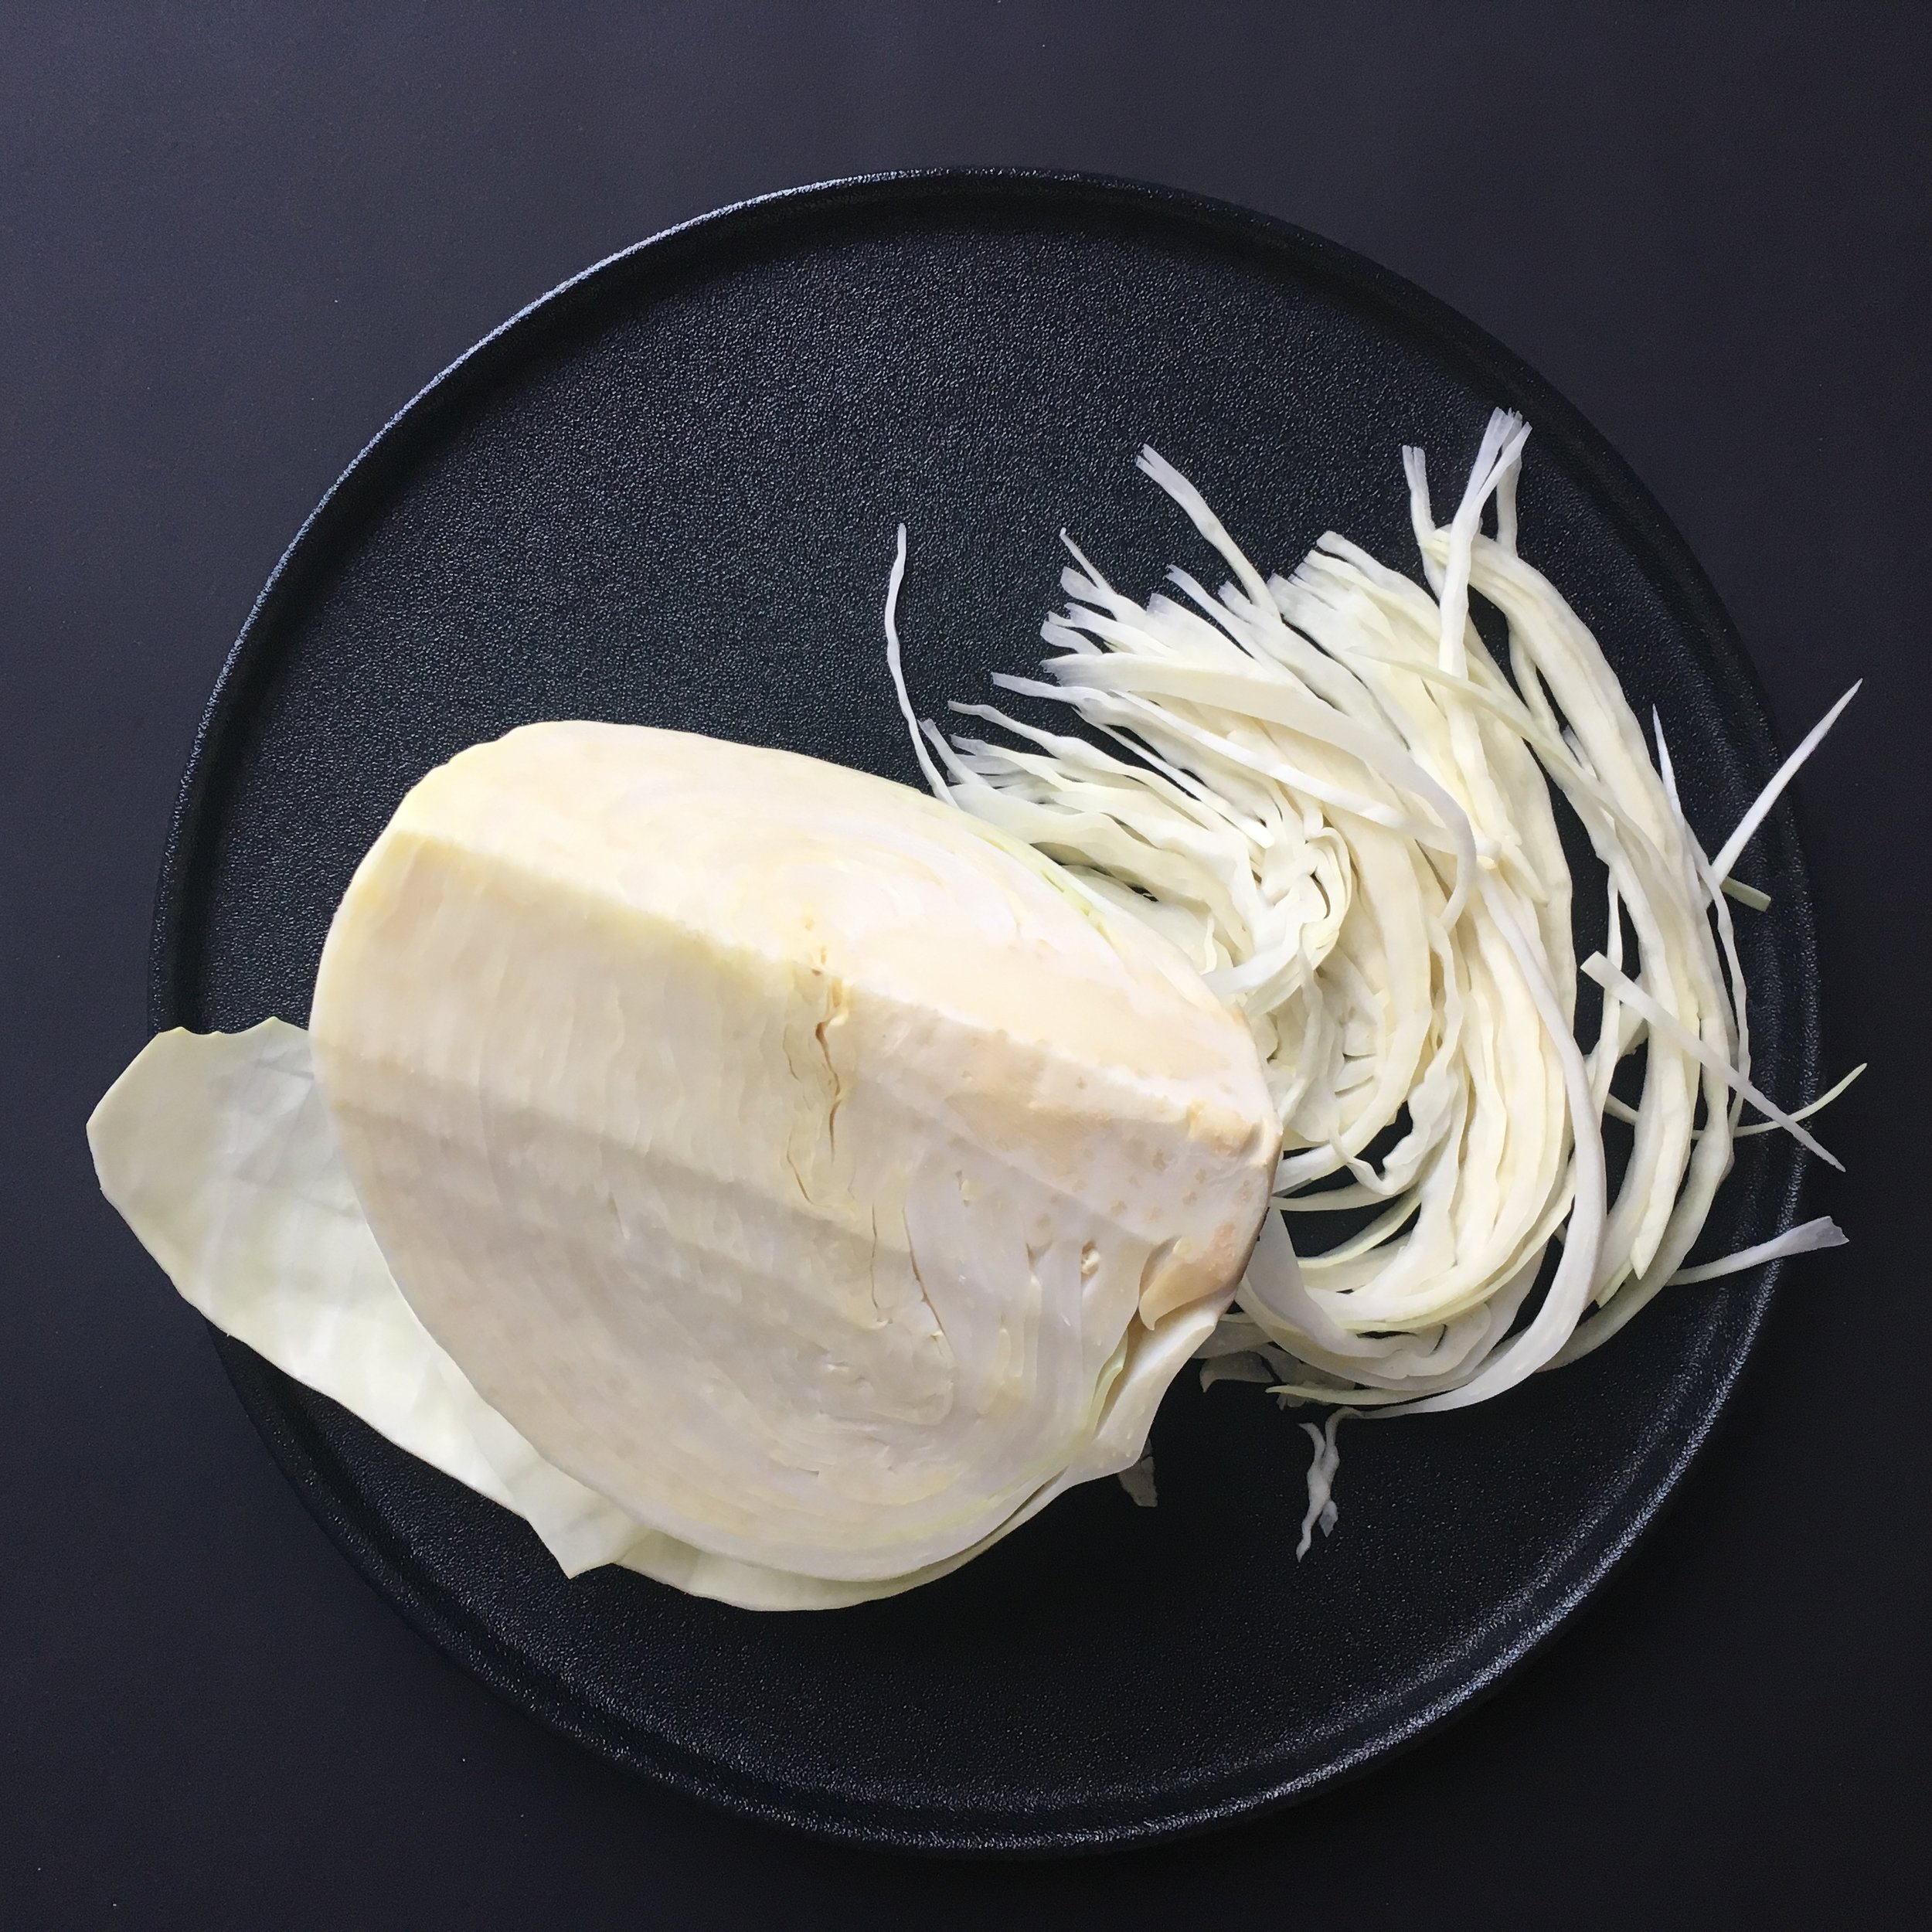
One of the things that people are scared off when it comes to fermentation is that they believe it is laborious and you can only make it in big batches. Sauerkraut conjures up images of farmers in wellington boots stomping on tons of shredded cabbage in huge tanks. Believe me: it doesn’t have to be that much effort and you won’t need to buy wellies. I had half a cabbage left the other day. Enough for a half litre jar of sauerkraut I thought and another topic for my blog. At this time of year most of the cabbages have been stored for some months and have lost a lot of their liquid. Mine has been sitting in the fridge for another week since I bough it and used only half of it and I expected it to be a bit dry. You need to massage salt into the shredded cabbage and work it for quite a bit in order to get enough brine. The brine is essential because the cabbage needs to be submerged so no bad mould fungi can grow. The half head of cabbage I had was around 500 g. As a rule of thumb, you need 2 % of salt for sauerkraut. Which means a 500 g cabbage needs 10 g of salt. In summer you need a little bit less because of the higher temperatures, in winter a little bit more. More salt slows down the fermentation process. However it also depends on the room temperature. Most lactic acid bacteria works best at temperatures between 18 and 22 degrees Celsius. So the environment you start your ferments in should neither be too cold nor too hot.
Edit December 13th: you might want to lower the amount of salt to 1% or 1.5% if you want the ferment to taste less salty and sour. I have started using rock salt instead of sea salt because of microplastics being present in many sea salts. I was wondering lately why my ferments in the past tasted so much milder than now. I made several krauts with 2% salt, but different kinds of salt and they varied a lot. 2% salt tasted good when I added sea salt (I used Maldon), however an Alpine rock salt made the kraut taste a lot saltier - borderline I would say for my taste - and will surely result in a kraut that is a lot more sour. I had a quick exchange with Isa about this and she confirmed that 2% is a good rule of thumb for beginners, more experienced fermenters can lower the amount of salt. So I will add 1.5% salt and see what happens. You shouldn’t go lower than 1% salt content, though.
The jars that work best for fermentation are those with a metal clip. In the UK they are called Kilner jars, in France they are called Le Parfait, in Italy Fido. A Swedish furniture store has them, too. I will explain more about jars in my longer post about fermentation coming soon, just trust me for now to use those types of jars.
The jars shouldn’t be packed up to the rim. Fill them up to the neck and use a weight to keep the sauerkraut submerged. Fermentation weights are available on the internet, but if you care about food safety I recommend the ceramic pickle weights of Isa. She also ships abroad (a little tip when emailing her: write politely and in full sentences. I know, it’s hard and a lot to ask for in times of text messaging and social media, but it’s good for your karma).
Sauerkraut
white or red cabbage (savoy won’t work, because it is to dry)
rock salt or sea salt (2% of the cabbage weight: i.e. 500 g needs 10 g of salt, 1000 g of cabbage needs 20 g of salt)
spices (crushed juniper berries, caraway seeds, bay leaf, macis…feel free to experiment)
Wash the cabbage and remove the tough core and some of the outer leaves. Slice the cabbage very finely or use a mandolin to get very even and thin slices. The thinner the cabbage slices the easier it will ferment. Add the shredded cabbage to a bowl with the salt and start massaging the cabbage until it releases a lot of liquid and a little pool forms at the bottom of the bowl. You need a lot of that liquid to cover the sauerkraut sufficiently. If your cabbage seems a bit dry and doesn’t yield a lot of brine, don’t worry. You can top it up with a 2 % brine. Simply dissolve 10 g of salt in 500 ml of water and use that to cover the sauerkraut.
Add crushed juniper berries or caraway seeds to the kraut and mix. Fill the kraut into a jar with a metal clip (Kilner, Fido or Le Parfait). Make sure you push it down enough so there are no air pockets. Fill it up to neck and top up with the brine. The kraut needs to be well submerged. Top with a ceramic pickle weight, make sure you clean the edges on the inside and outside with a paper towel, so no mould fungus can grow. Also look out for any bits that are floating on top and remove those or push underneath. Put a rubber seal on the lid and close. Keep in a dark place to ferment at a temperature between 18 and 22 degrees celsius. After a few days you can store it in a cooler temperature of around 18 degrees. After 4-6 weeks you can try your sauerkraut. Once opened store in the fridge where it will keep for several months.

You need to massage the salt into the cabbage for a bit to yield enough brine. If it is too dry (which often occurs at the end of the winter months, you can top it up with more brine (see details in the recipe).

You need to push the cabbage down so there is no air trapped. Don’t fill the jars up to the rim. You need to leave some space for the ceramic pickle weight and the brine.

Top with a ceramic pickle weight to keep the sauerkraut submerged in the brine. If you haven’t got enough brine from kneading the cabbage, make a 2% brine to top it up. This weight with the bubble decor is lovingly made by Isa of Wilde Fermente.

After a few days the brine will look cloudy. This is normal and a sign that the fermentation process has started. The bubbles you see here aren’t air pockets but the gases that are produced by the lactic acid bacteria.
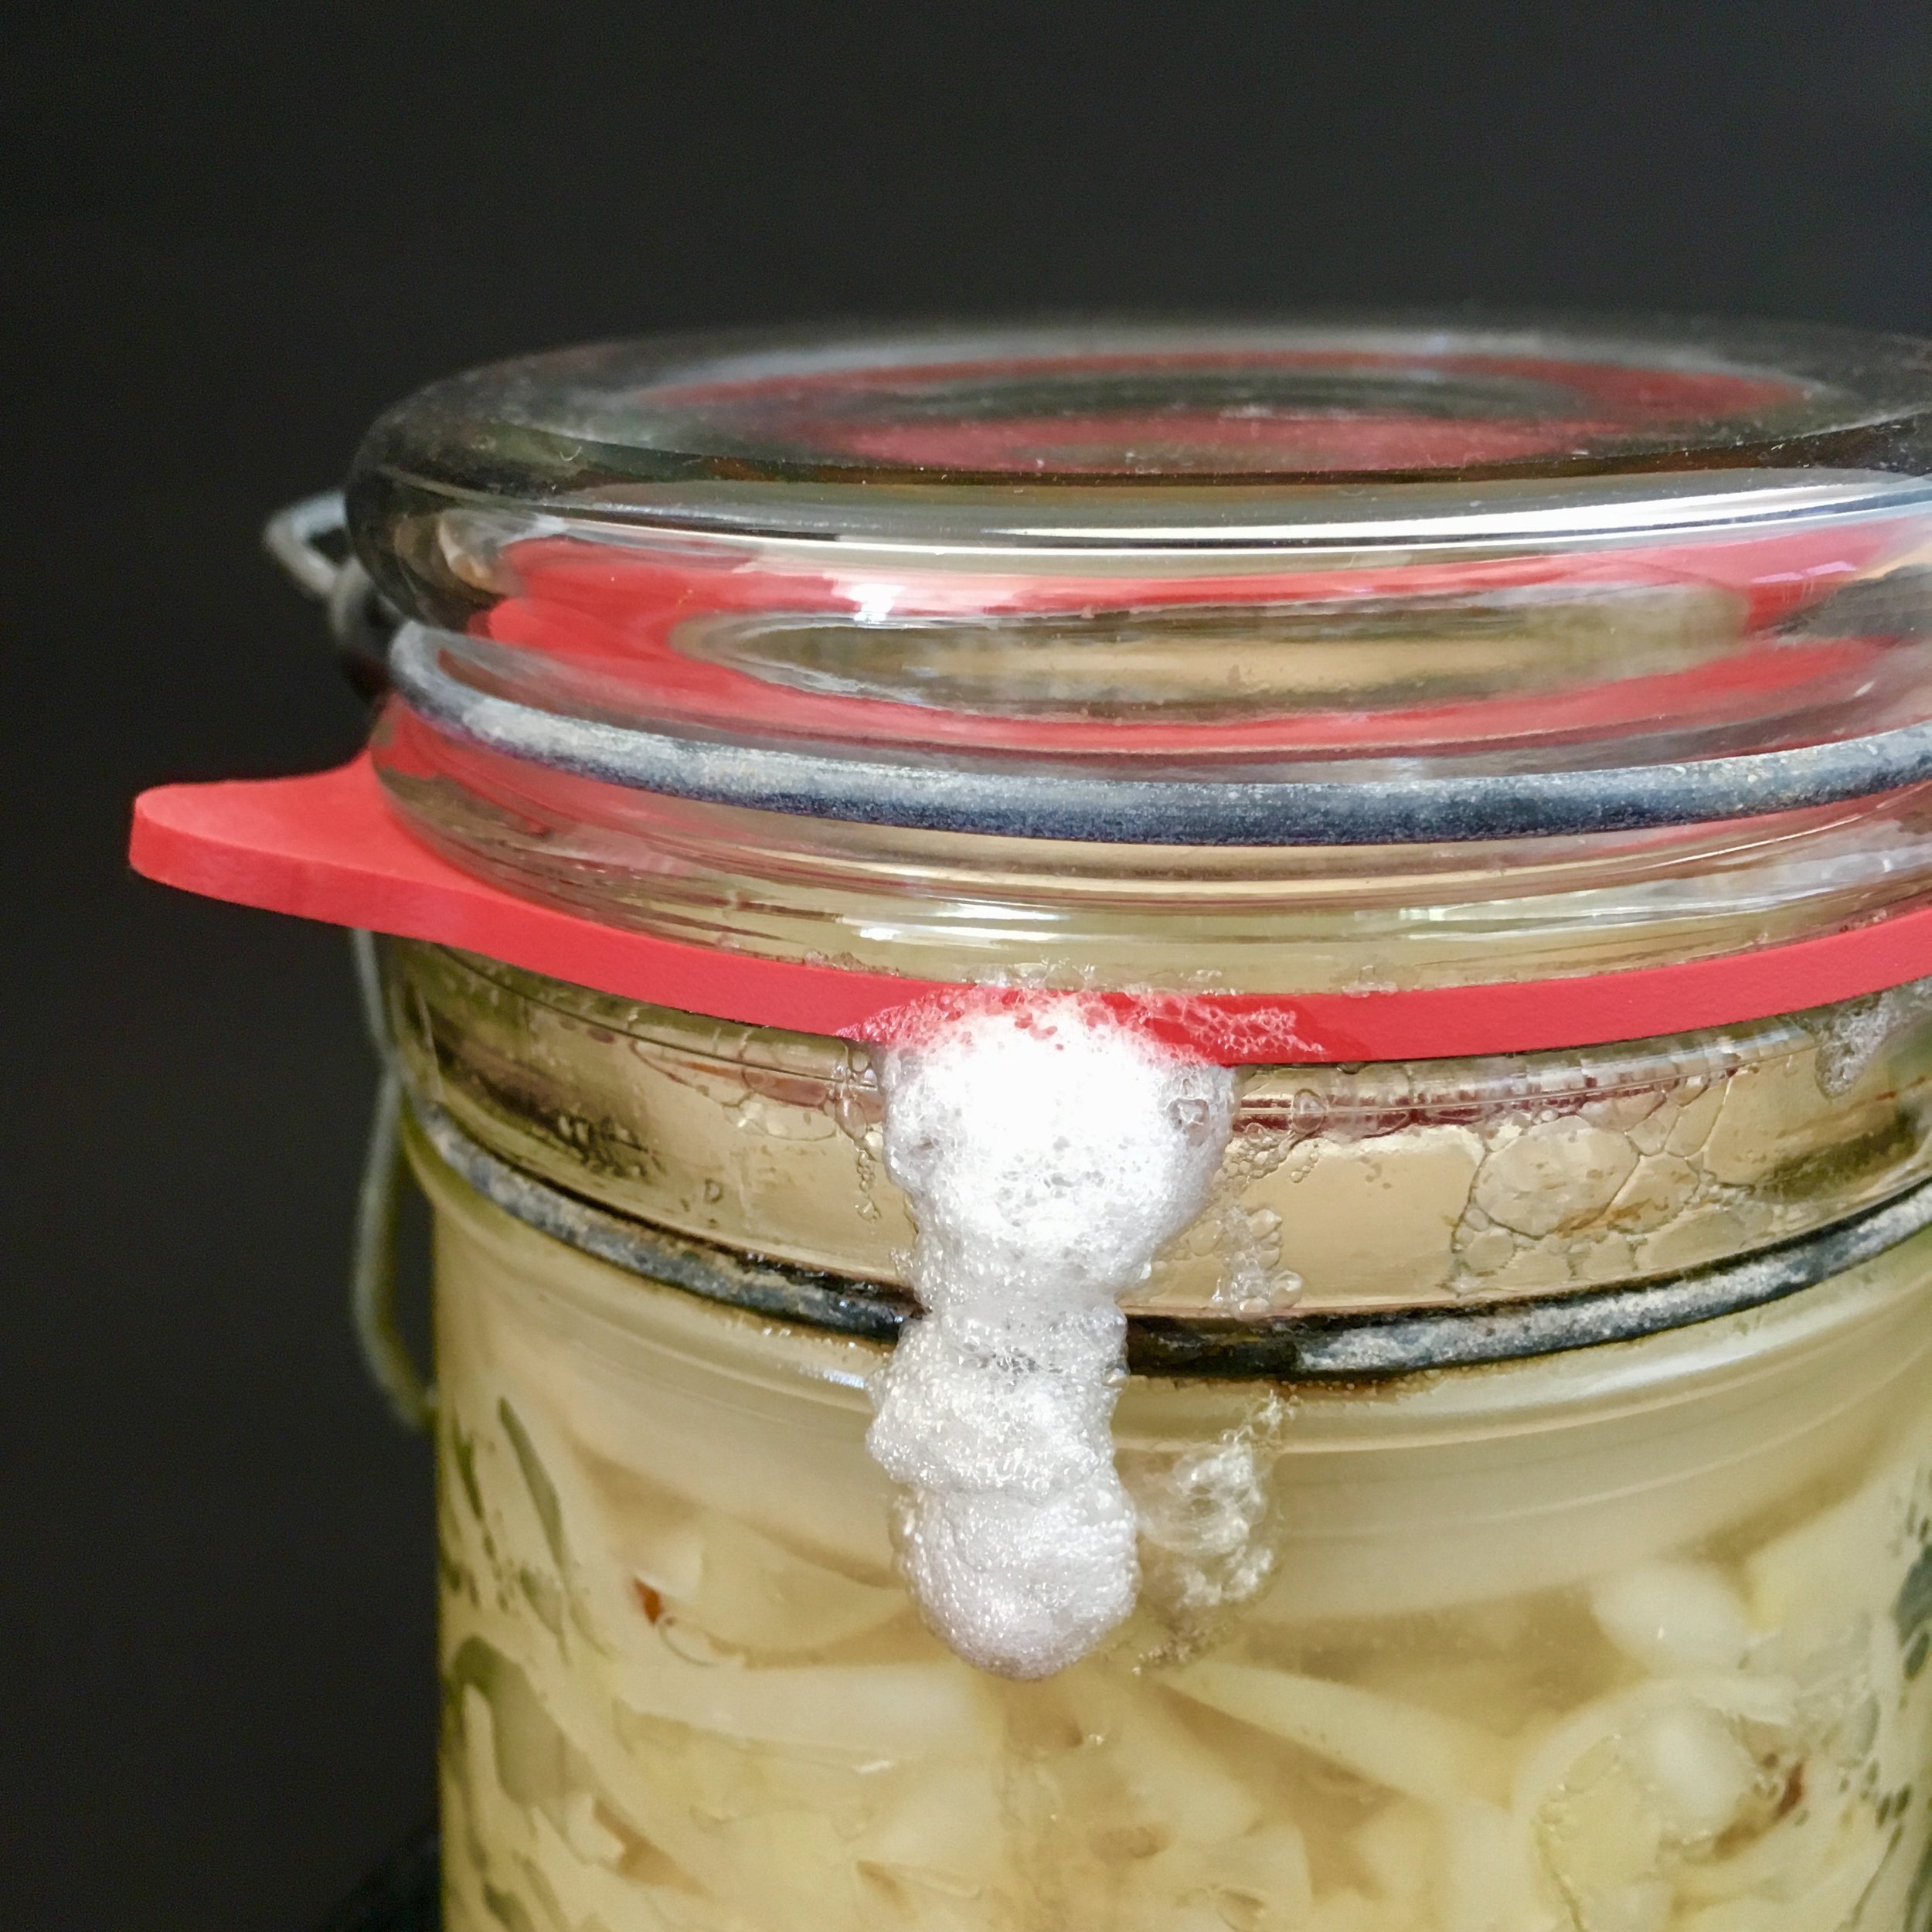
I recommend you put a plate underneath your jar, because some of the brine will leak out. The rubber seal allows for pressure to escape. The gases produced by the lactic acid bacteria pushes out oxygen and creates an anaerobic climate at the top of the jar which makes it impossible for mould fungus to grow.